Since I valiantly sacrificed my closet to make way for our
new master bathroom, getting dressed in the morning has proven to be a bit of an ordeal. I pride myself on having a highly functioning, teeny-tiny wardrobe, but it still proved to be a serious problem to squeeze all my stuff into my husband's already crowded closet. So half of my clothes were temporarily relocated to our spare bedroom. Can I just tell you how much fun it is to grab a pair of jeans and a sweater from my "new" bedroom closet, just to use them to hold over myself, so I can run down the hallway to where my undergarments and t-shirts are hiding out? It's been wicked great...
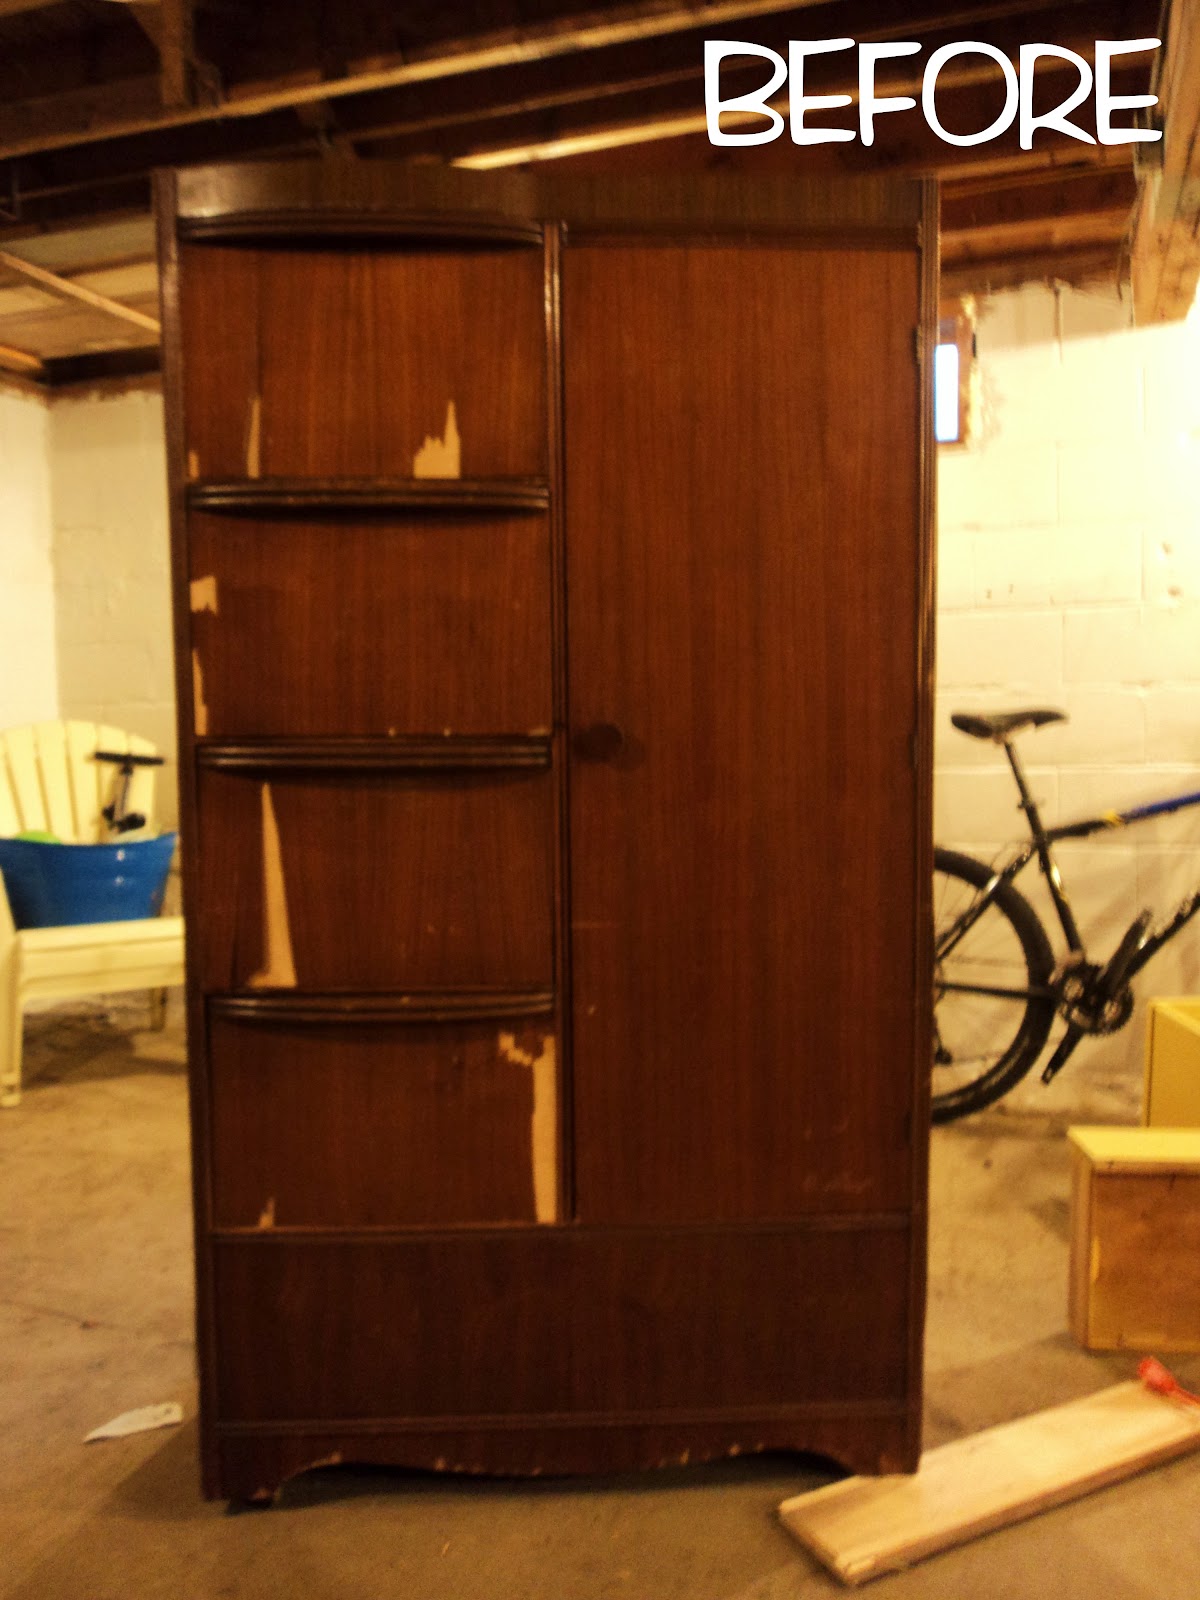
Anyway, I found this monstrosity of a wardrobe cabinet at
ReStore for $35.00 to solve all my problems (wardrobe related ones that is). I was thrilled with my find, and brought it home, super impressed with myself, not only for the "bargain" I got, but also with the fact that I got it to fit in my car. My husband hated it. I decided that he didn't get a say in it though, because he's not the one who had to go streaking through the house every morning to put an outfit together.
The cabinet was in seriously rough shape though. Structurally it was solid as a rock, but cosmetically, it was a train wreck.
 |
| Good, solid drawer construction with strong dove-tail joints and real wood...none of that particle board crap. The veneer was in majorly rough shape though. |
 |
I glued down any floppy pieces of the veneer with wood glue and used a little lot of wood filler to patch the places where it had already peeled off. |
 |
| Scratches, dents, and dings all patched up |
 |
| Drawers all patched up. |
 |
| I used a sanding block to smooth out the dried wood filler, and wiped the dust away with a microfiber cloth so the primer would get a really good grip. |
 |
| Primed! |
 |
| I mixed my own paint color from what was left of a blue that was strangely close to the color of painter's tape (the room we painted with it ended up repainted shortly after we discovered that it looked like the whole room was covered in strips of painter's tape), and a color green that I can't fathom putting on anything in my house and have no idea why it was purchased in the first place. |
 |
| It came out this cool, retro-ish teal. The drawers in this cabinet are massive. So the top one is currently being used for extra shoe storage (the future plan is for them to move under the bed, but this works for now). |
 |
| Yes, really, this is all I own for clothing that's nice enough to hang up. So this teeny little space was perfect for my needs. It's worth pointing out that I ripped the bottom out of the cabinet and didn't replace it. it was not a structural piece, was in awful shape, and it gave me extra storage space to be able to put stuff all the way down to the floor. The bag on the bottom is my "bag bag." Just as it sounds... a bag full of my bags. |
 |
| Ta-da! I purposefully didn't paint the inside of the door. It's the most amazingly beautiful wood, and it was the only piece in the entire cabinet that was still perfectly intact. I couldn't bring myself to slap paint on it. |
In the "After" shot at the top of the post you can also see that I changed the hardware on the door. It's a nifty little chevron-shaped handle I found at
ReBuild for 50 cents, and spray-painted it chrome.
By the way, my husband still hates the cabinet... I think it may have something to do with the cease-streaking that took place when the finished cabinet appeared...
Thanks for stopping by,
-Lindsey


No comments:
Post a Comment